This tutorial demonstrates the greenhouse effect using Polytech’s SMART:Blox Student’s STEM Set with ARD:icon block programming application.
Method
In this session, we will use two temperature sensors with probe to measure the temperature rise in two sealed containers simulating two different environments.
Equipment
- Hardware
- SMART:Blox S5 STEM Set
- ARD:icon controller
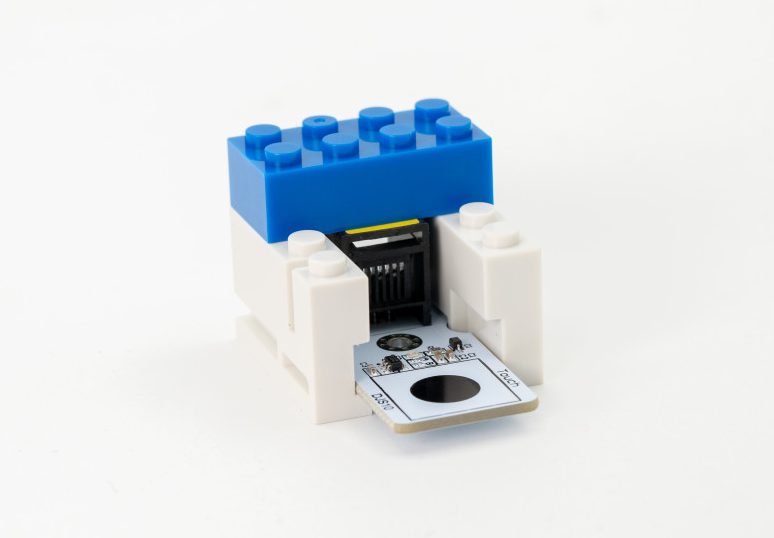
- Temperature sensor with probe AFX08 (x2)
- UTP cables (x2)
- USB cable
- White bricks (x4)
- Blue bricks (x2)
- Bricks base
- Small sized test tube
- Metal clamps (x2)
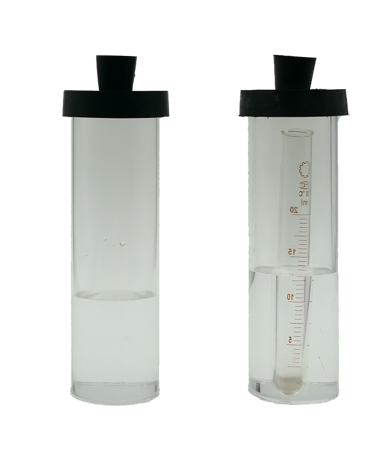
- Acrylic containers with rubber caps (x2)
- Medium-sized rubber bangs with hole (x2)
- Incandescent Lamp
- Disposable pippete
- SMART:Blox S5 STEM Set
- Software
- Polytech ARD:icon application on a Windows PC
Materials
- Tap water
- Baking soda (NaHCO3)
- Vinegar

Safety Notes
There are no special safety requirements for this experiment.
1. Introduction
Objective:
The aim of this experiment is the laboratory simulation of global warming.
The greenhouse effect is a natural phenomenon that helps keep the Earth’s surface warm enough to support life. Here’s how it works:
Solar Radiation: The Sun emits energy, which travels to Earth as solar radiation (sunlight).
Absorption and Re-radiation: Earth’s surface absorbs some of this energy, warming the land, oceans, and atmosphere. The Earth, in turn, radiates some of this energy back into the atmosphere as infrared (heat) radiation.
Greenhouse Gases: Certain gases in the atmosphere, known as greenhouse gases (GHGs), trap some of this heat, preventing it from escaping into space and reflecting it back toward Earth’s surface. Major greenhouse gases include:Carbon dioxide (CO₂), Methane (CH₄), Water vapor (H₂O), Nitrous oxide (N₂O).
Global warming refers to the recent and ongoing increase in Earth’s average surface temperature, primarily due to an enhanced greenhouse effect caused by human activities.
Human Activity: Since the Industrial Revolution, human activities, such as burning fossil fuels (coal, oil, natural gas), deforestation, and industrial processes, have significantly increased the concentration of greenhouse gases in the atmosphere.
Enhanced Greenhouse Effect: This excess of greenhouse gases traps more heat, amplifying the natural greenhouse effect and leading to a gradual rise in global temperatures.
2. Setup Instructions
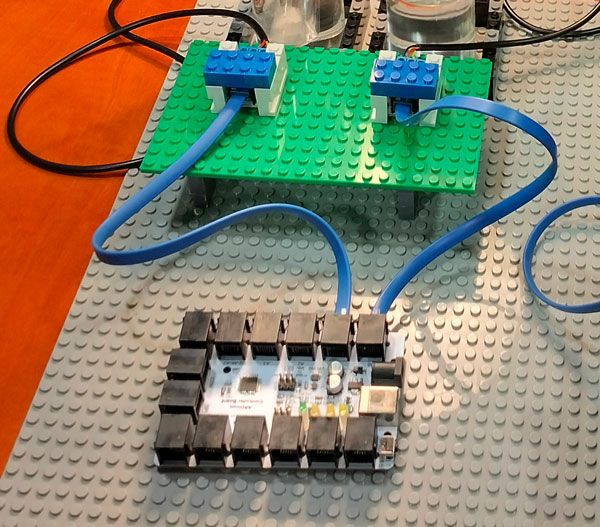
- Encapsulate the sensors – each one separetely – to the blocks to create 2 EB:blocks


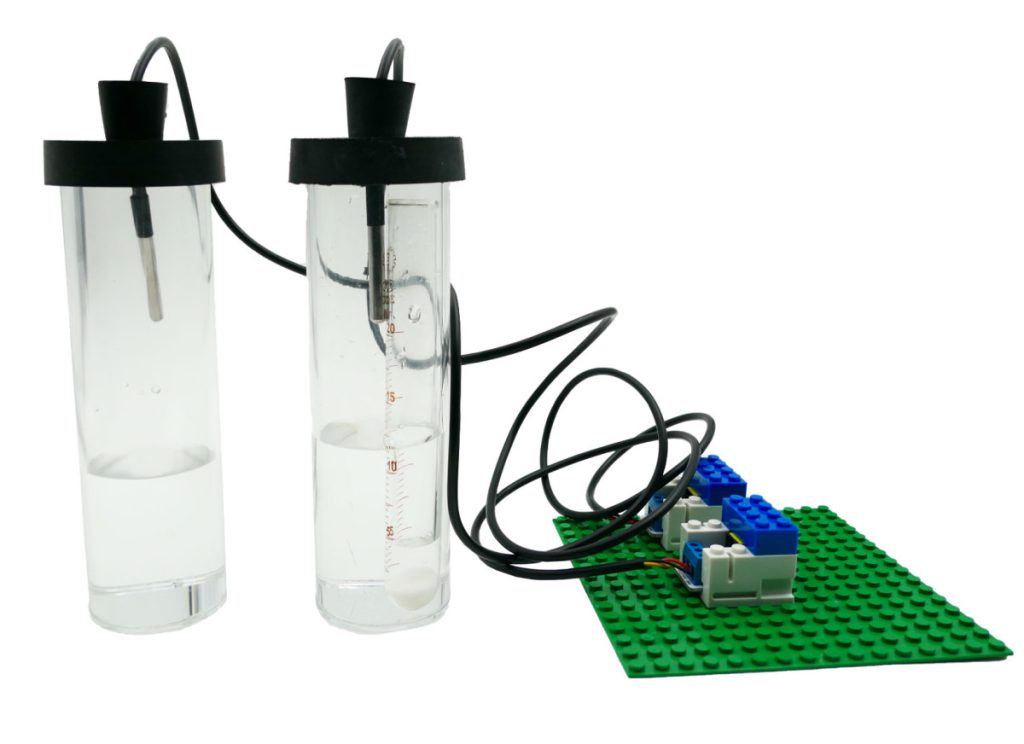
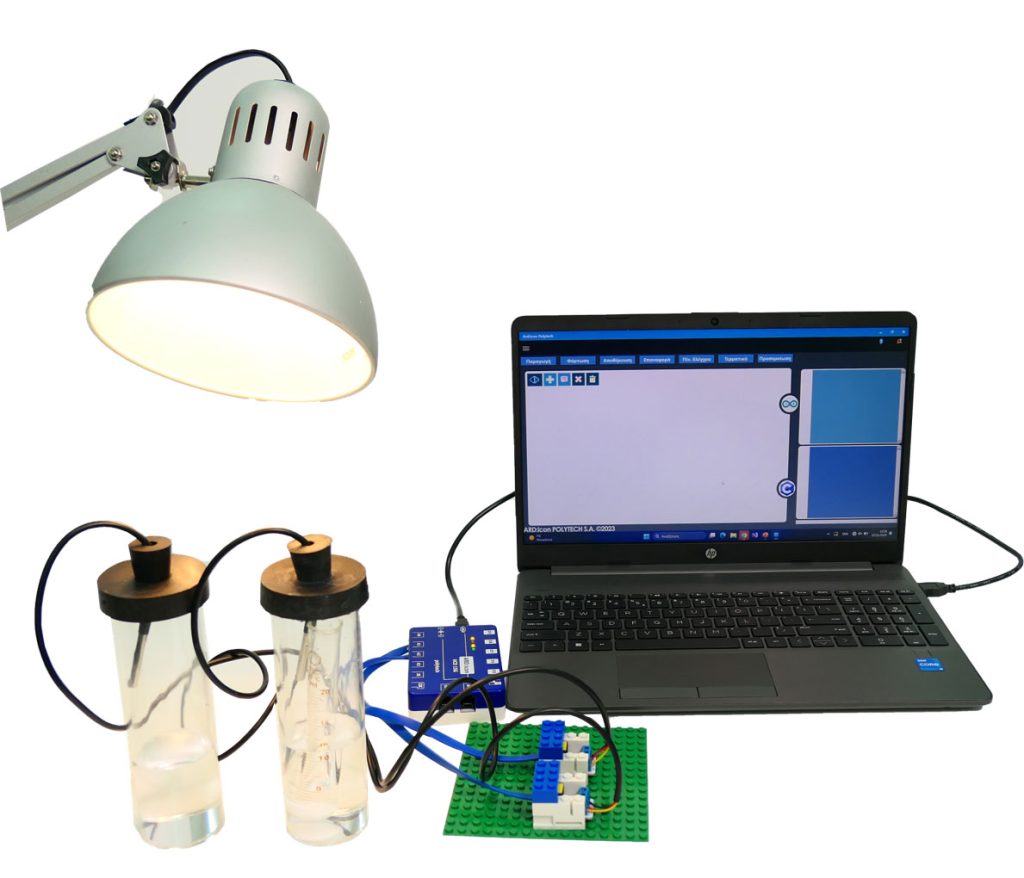
- Use the blocks base to secure the EB:blocks in a setup as the one in the photo:
- Add equal quantities of tap water into the two acrylic containers.
- With a metal spatula add 2-3 parts of baking soda into the test tube and place the tube into one of the two acrylic containers. Seal the containers with the rubber cap.
- Insert the two temperature sensors in the holes of the caps. Ensure that the sensors record the temperature of the environment and not of the water. Also make sure that the sensors are at the same level in the two containers.
- Place the incandescent lamp near the acryllic tubes in order to simulate the heating energy of the sun.
3. Connections
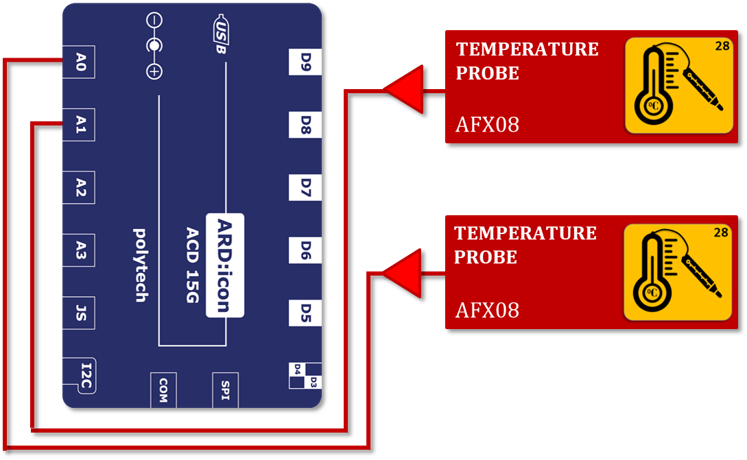
- Connect the first Temperature sensor with probe AFX04 to ARD:icon analog port 0 (A0).
- Connect the second Temperature sensor with probe AFX04 to ARD:icon analog port 1 (A1).
- Connect the ARD:icon controller to your PC using the USB cable
4. Programming
Run the ARD:icon application and select “Start”.
Read Values from Sensors
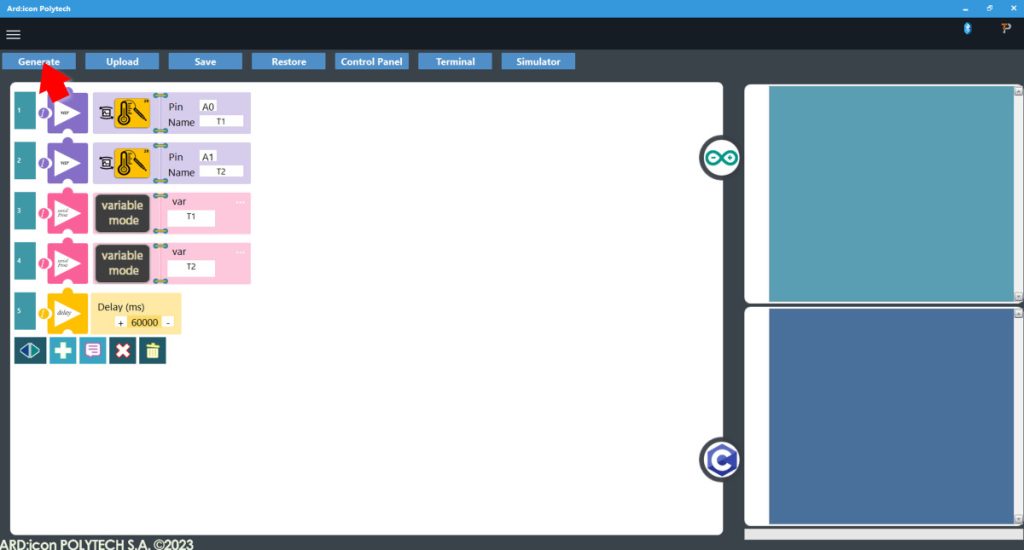
- Create a new block command by pressing the + button
- Select the Temperature sensor AFX08.
- Assing vales to the block: Pin A0 and Name T1.
- Create a new block command by pressing the + button
- Select the Temperature sensor AFX08.
- Assing vales to the block: Pin A1 and Name T2.
Display Values
- Create a new block command by pressing the + button
- Select Serial Print.
- Click on the … icon to change to Variable Mode.
- Assign value T1 to var.
- Create a new block command by pressing the + button
- Select Serial Print.
- Click on the … icon to change to Variable Mode.
- Assign value T2 to var.
- Create a new block command by pressing the + button
- Select Delay Time.
- Set delay value to 60000 ms (1 minute).
When finished the block code will look like this:

- Press Generate to generate the programm code
- Press Upload to upload the generated code to the ARD:icon controller

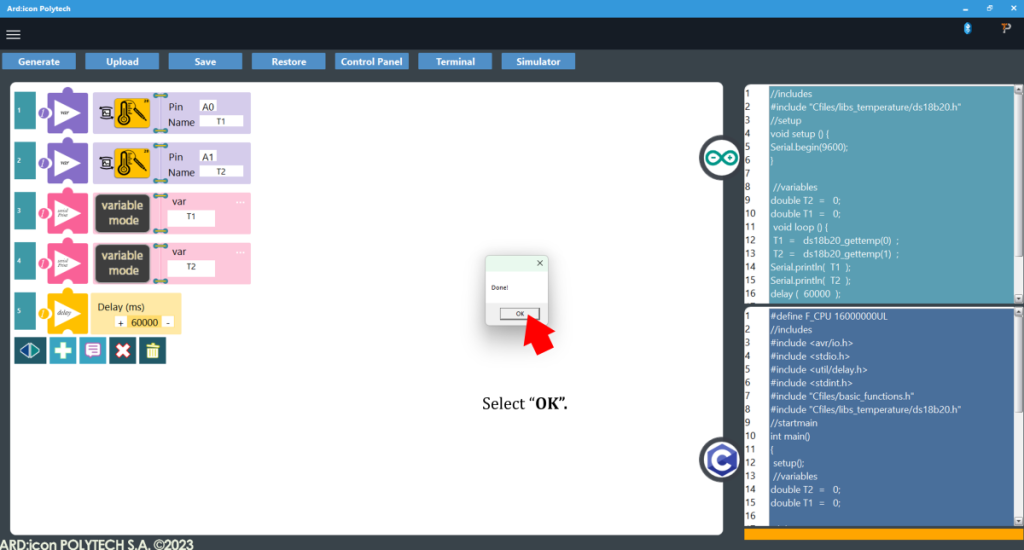
- When the uploading is Done press OK to the prompt
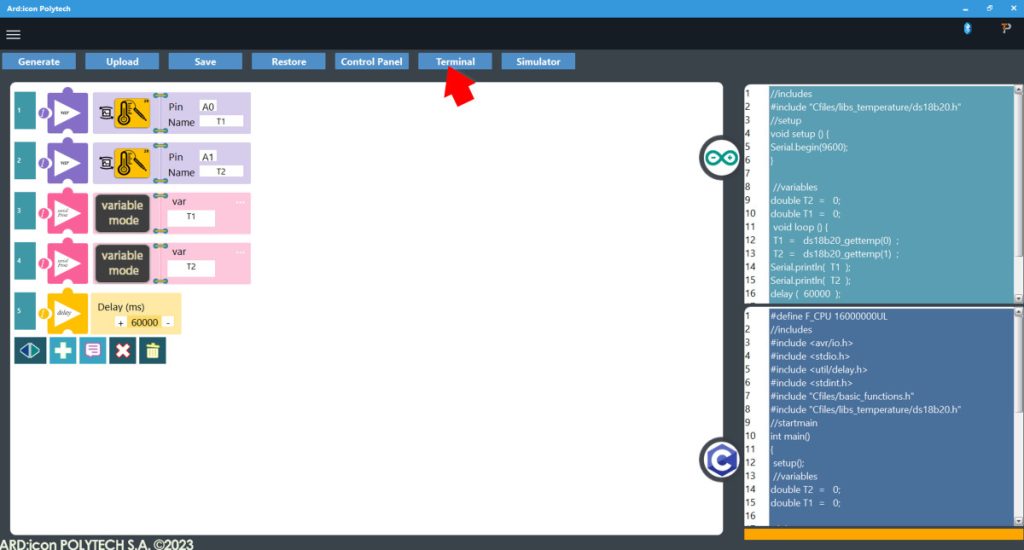
- Press Terminal to open the ARD:icon Terminal Window
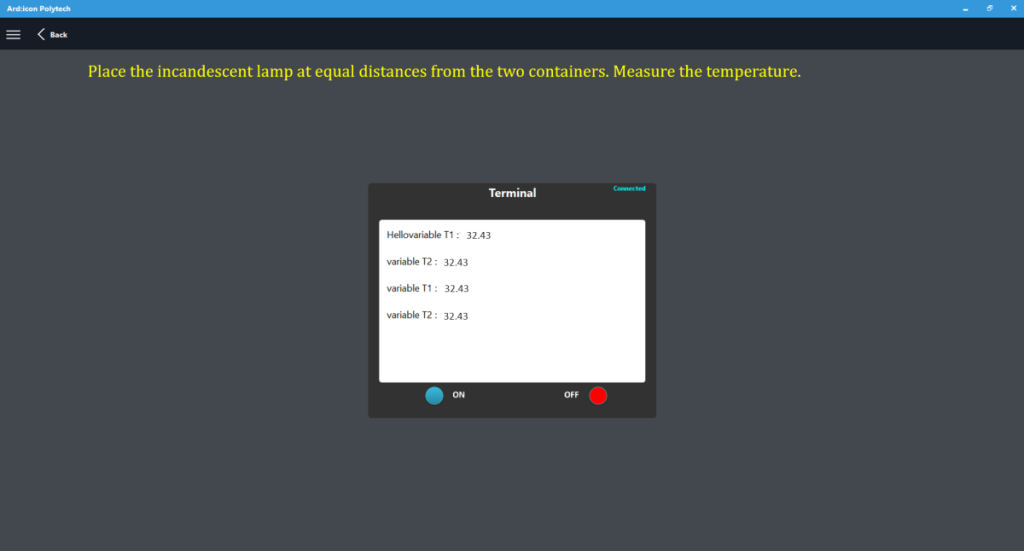
- On the Terminal window click ON to start printing the values to the terminal.
- Turn the lamp on to start emitting heat and record the temperature within each of the two environments. Wait 10-15 minutes to get a better sample.
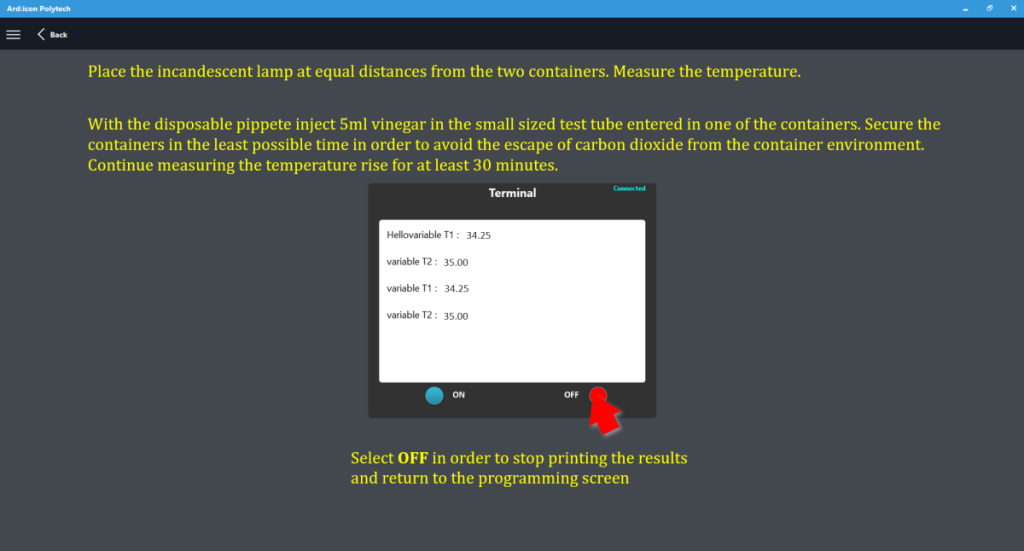
- With the disposable pippete inject 5ml vinegar in the small sized test tube with the baking soda that we entered in one of the containers. Secure the container in the least possible time in order to avoid the escape of carbon dioxide from the container.
- Continue measuring the temperature rise for at least 30 minutes.
- On the Terminal window click OFF to stop printing the values to the terminal
End of tutorial